Setting up TslaPlay
About five minutes the first time, and under a minute after that.
You'll need your phone, your car in Park, and a few taps. The car doesn't need anything installed — the whole thing runs from your phone.
-
Turn on your phone's hotspot
Use your phone's normal hotspot switch — usually in quick settings, or under Settings → Network → Hotspot.
TslaPlay can't turn this on for you. Android doesn't let any app do that, so it's a manual step every time.
If your phone offers a choice, pick the 5GHz band. The highest quality setting genuinely needs it — on 2.4GHz, the network is the limit rather than your phone.
-
Connect the Tesla to your hotspot
In the car: Controls → Wi-Fi, pick your phone's hotspot, enter its password. Exactly like joining any other network.
The car will remember it for next time.
-
Open TslaPlay and choose your settings
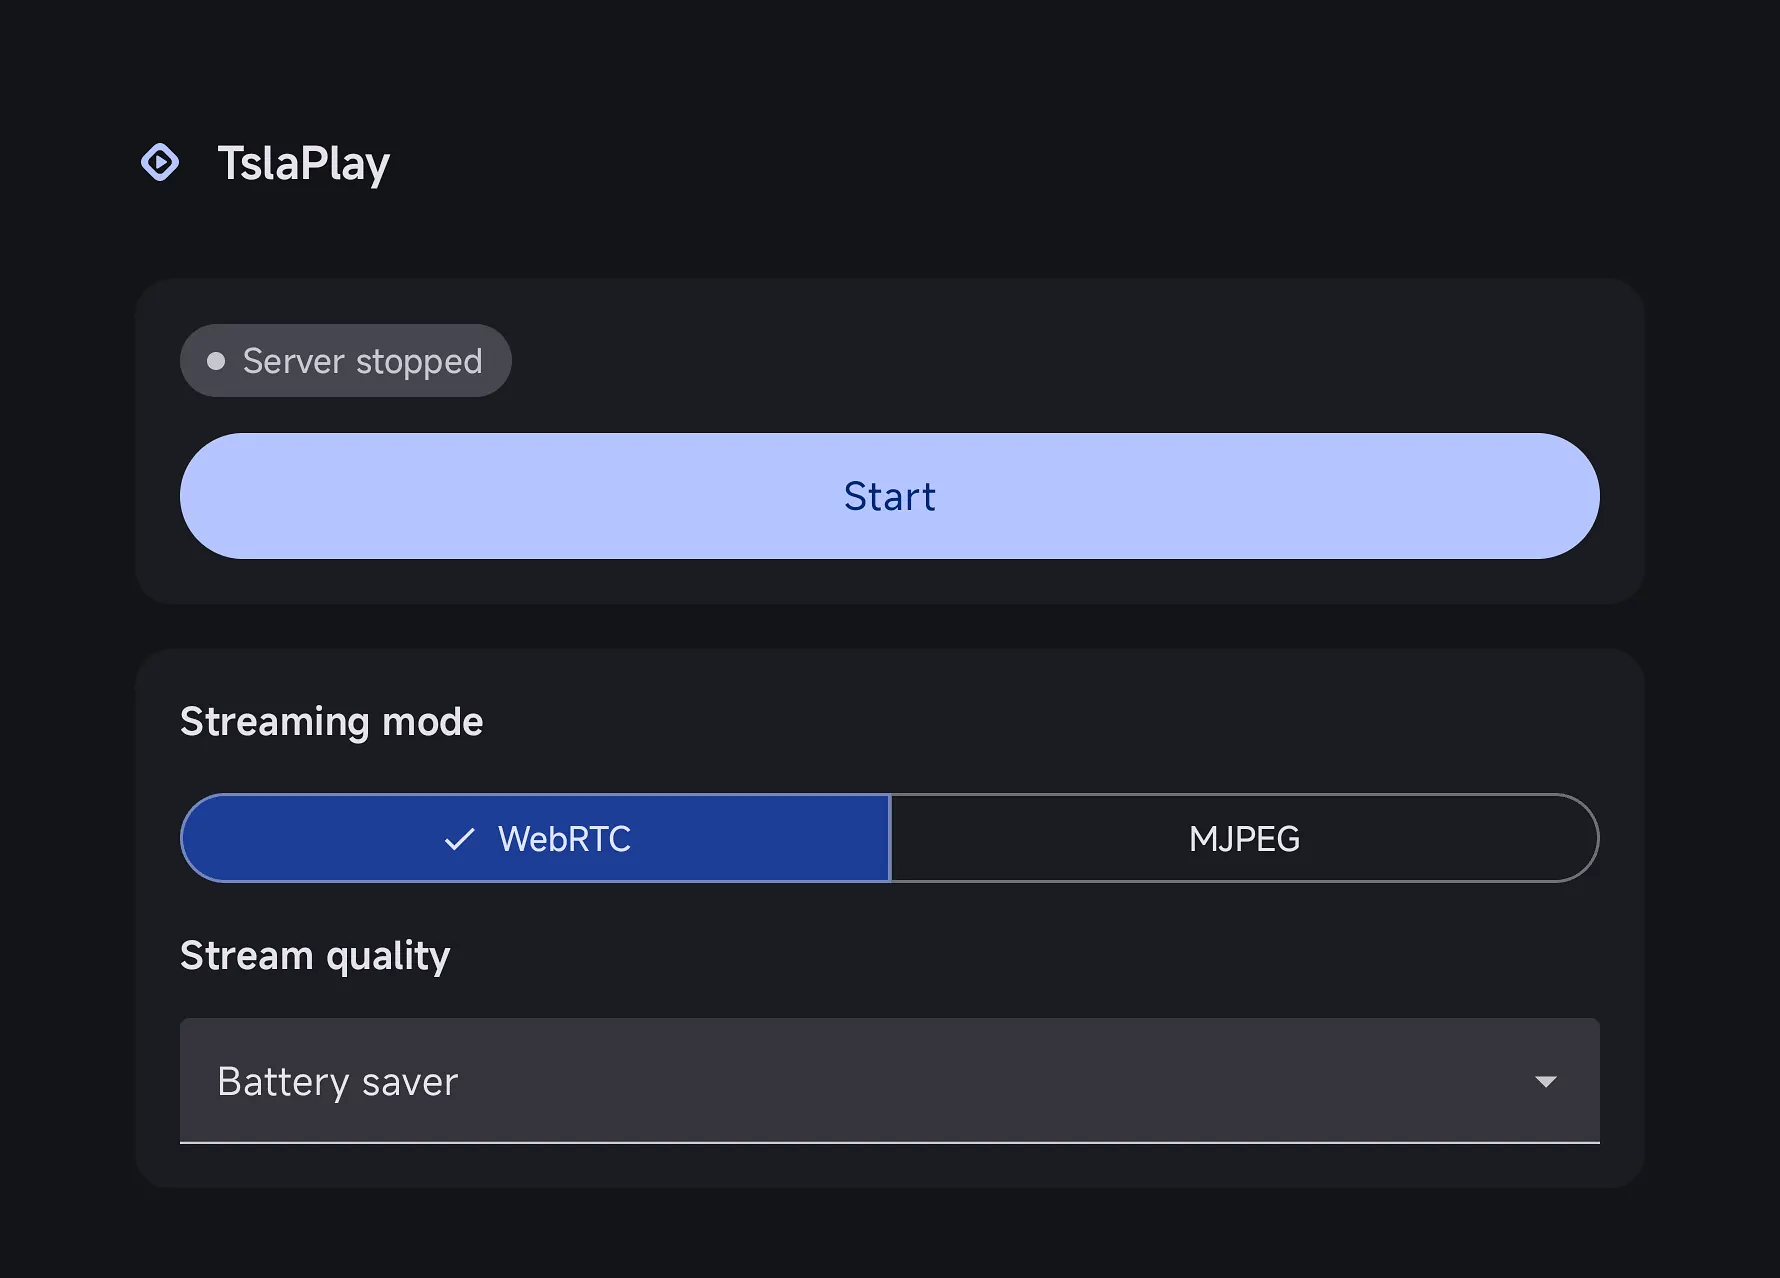
Streaming mode — leave this on WebRTC. It's the default and it's better: lower delay, and sound stays in sync with the picture. MJPEG is a fallback for if WebRTC gives you trouble; its sound runs slightly ahead of the picture, which is fine for music but poor for anything with speech.
Stream quality — Balanced by default, which caps the picture at 1080p at 30 frames per second. Choose Battery saver to be gentler on the phone, Max quality for full resolution, or Custom to set your own numbers.
If you see a Battery optimization card, tap Exempt TslaPlay. It stops Android cutting the stream short while the phone sits idle. You only need to do this once.
-
Press Start, and answer three prompts
They appear in this order.
Microphone permission
Optional. Say yes if you want sound. Android files this under "microphone" because of how the system is built, but TslaPlay records what your phone is playing, never what the microphone hears. Decline and you'll get a silent picture.
VPN request
Say yes. This one looks alarming and isn't. TslaPlay needs to claim one local address for itself, because the Tesla's browser refuses to connect to the ordinary ones your hotspot hands out. Android only lets an app do that through its VPN system, which is why you'll see a VPN key icon while streaming. Nothing is routed anywhere — no traffic goes to a remote server, and your other apps are unaffected. If you decline, the car probably won't be able to reach your phone at all.
Screen recording
Required. This is the one TslaPlay genuinely can't work without. It appears every session, by Android's design — no app is allowed to remember your answer.
-
Type the address into the car's browser
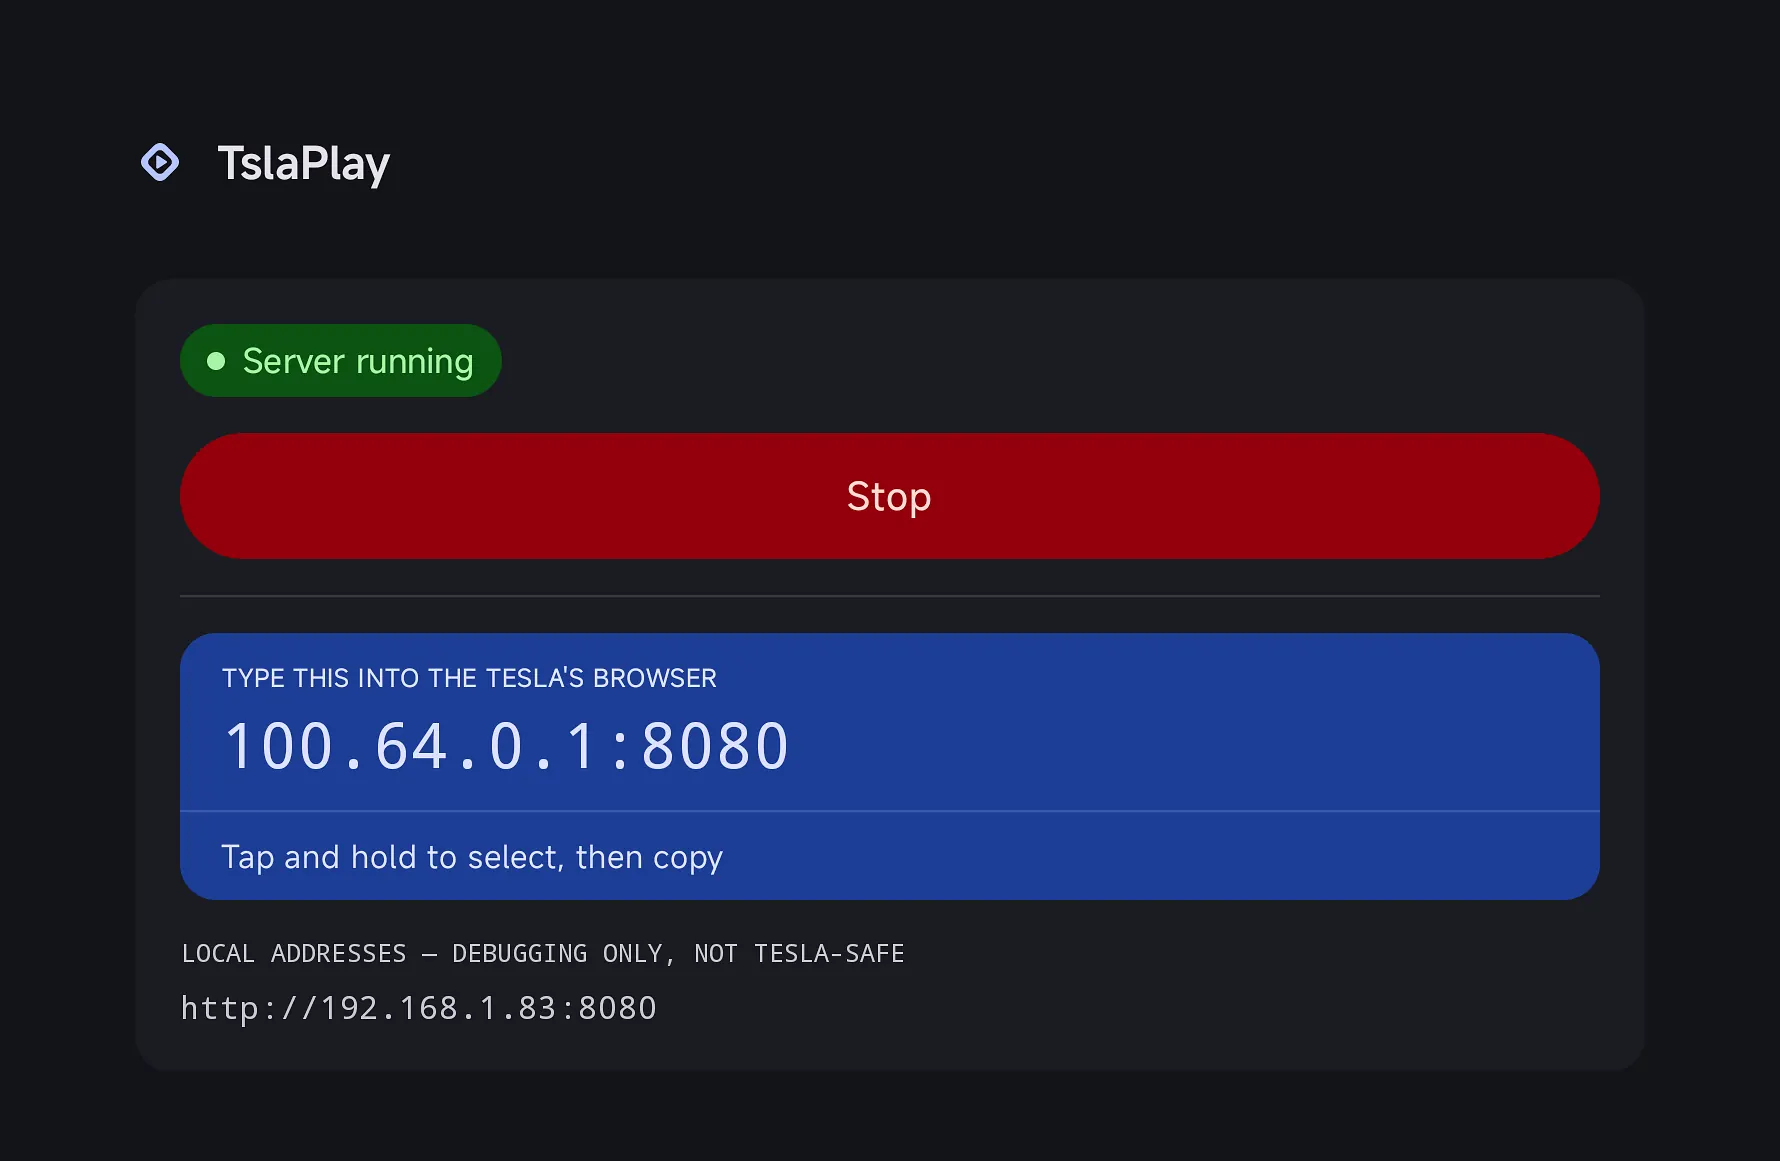
The app now shows Server running and an address like:
Type this into the Tesla's browserhttp://100.64.0.1:8080Tap and hold to select and copy, or tap the address to go straight thereOpen the browser in the car and type it in. After the first time the browser will autocomplete it. If you're reading this page on the car's own browser, tapping the address above works too — useful since some Tesla units won't submit a typed-in numeric address with Enter or Go.
You'll also see some local network addresses listed below it, marked as debugging only. Those are for testing from a laptop — the Tesla's browser can't reach them. Use the address at the top.
-
Tap the page once
Your screen appears, and a ▶ Tap to start overlay sits on top of it. Tap anywhere.
That tap is a browser rule, not a quirk of this app: no browser will play sound until you've interacted with the page. One tap and the sound comes on.
Photo — the phone's screen mirrored on the Tesla's display, car parked
When you're finished
Press Stop in the app, or use the Stop button on the notification. That ends the capture, drops the VPN address, and releases the phone.